
How to pack a German WWII infantry (fallschirmjäger) parachute:
The parachute shown here was liberated at the end of World War II by my father-in-law, Pat Bianchi. It was carefully stored and periodically aired-out. You can't help but admire the craftsmanship and engineering that went into this implement. The only feature that didn't measure up was the suspension system. During descent, the jumper would rotate uncontrollably, then land leaning forward about 20 degrees. At that point, he'd be seriously disoriented, if not knocked senseless. They were also lightly-armed when jumping. American paratroopers were made aware of this, and they had standing orders to counterattack immediately if they saw German paratroopers in an airborne assault. The background for this page shows the invasion of Crete.
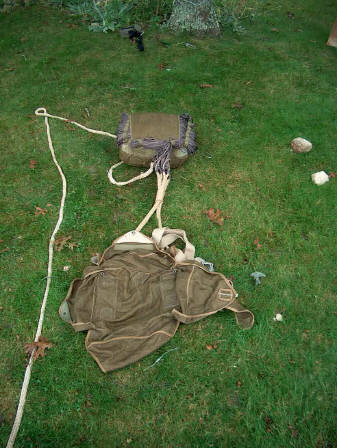
1 Unpacked
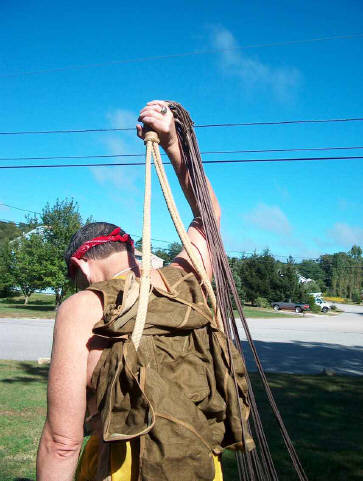
2 Unusual suspension. It left the jumper leaning forward slightly, and, because all the risers went through the knot, rotating like mad. This was confirmed via The History Channel.
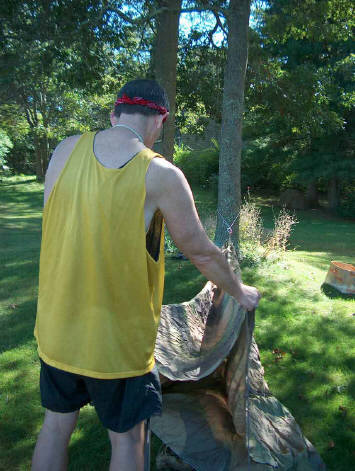
4 Folding the panels. The canopy was somewhat wrinkled, and needed to be hung for a couple days. It was also inside-out. This generated some confusion during the 4-line check.
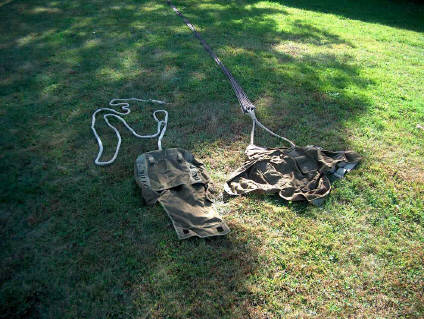
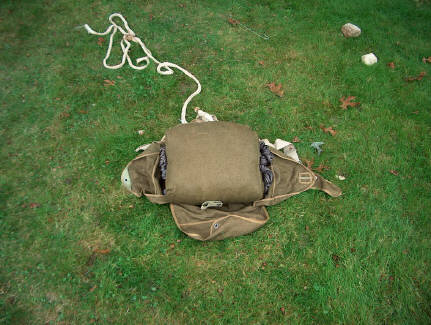
3 Container and deployment bag, with static line attached.
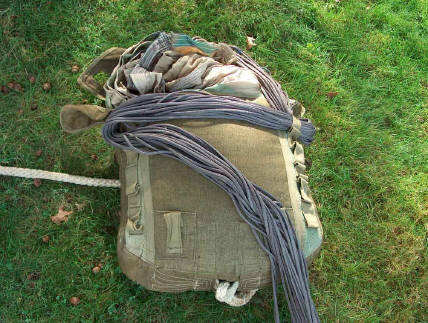
5 Stowing suspension lines on deployment bag. Modern parachutes use elastic bands. The German parachute used precisely-measured cloth straps instead.

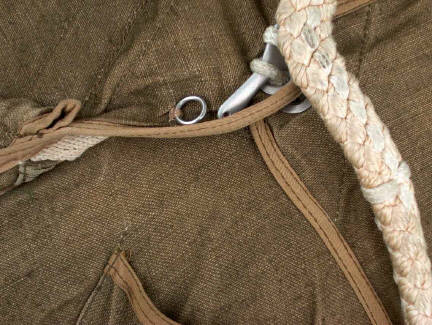
6 Completing the deployment bag. Note the hook I made from a piece of aluminum rod. This was the only way to pull the suspension lines through the loops. As it turned out, I pulled them through a bit too far, and one of the loops was left unused. The two final loops secured the cover over the lines. This prevented snagging and knotting of the lines.
7 Completed deployment bag
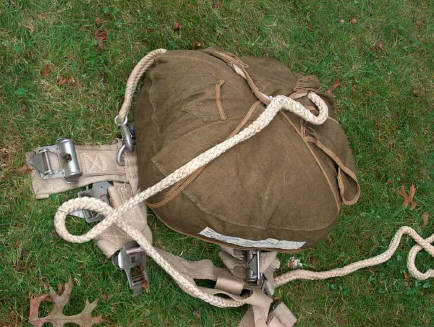
8 Deployment bag in container. See the little strap with the snap? It's closest to the camera on the deployment bag. It's just big enough to hold the static line. I assumed the suspension lines had to be next to the container to make a clean expansion once the container was open. Also, the deployment bag may have been secured using the 4 metal rings (not visible) at the corners of the container. I think it's unlikely that they'd put thread through the deployment bag for fear of snagging the parachute itself.
9 Last flap secured. This was a perfect place for some sewing thread, as you can see. The modern equivalent uses a metal cone instead of the loop of cord.
10 Finished package, with static line attachment exposed. The little flap to the right of the static line can be tucked into the pocket on the opposite side.
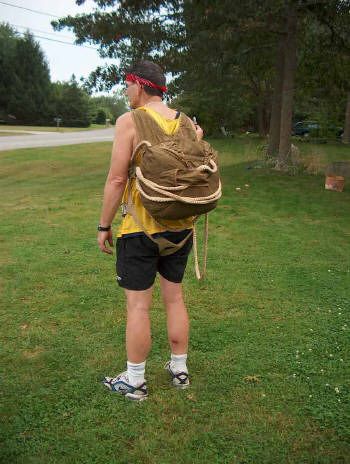
12 Ready to go, back view.
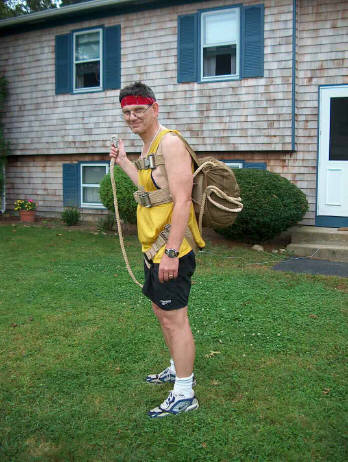
11 Ready to go, side view.
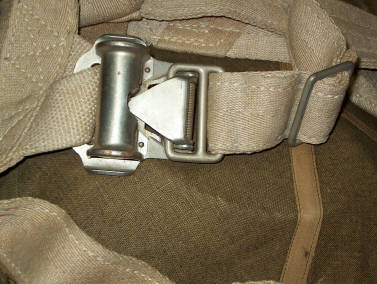
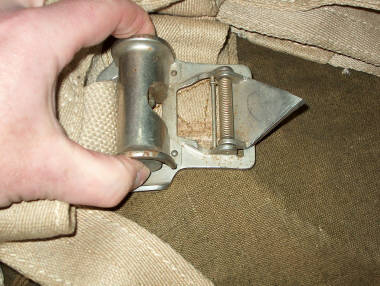
Quick Release. The parachute was secured via 4 of these. They can each be released with one hand. They functioned perfectly, 60 years after manufacture. The American system used up to the Normandy Invasion was very dificult to operate, and led to many casualties as troopers were attacked while still in their harnesses. The system was quickly upgraded to the British system which was released via a single sharp blow to a mechanism on the jumper's chest.
Closed
Open
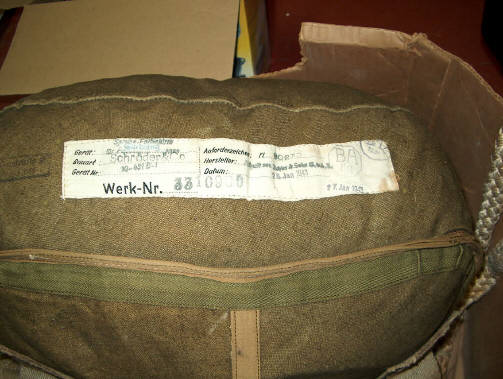
Identification. Date of manufacture: 26 January, 1943
The steps outlined here 'look like' the way one would go together. Only a few features didn't fall into step. There was a small strap with a snap which looked like it could be used to secure the static line to the deployment bag. However, I couldn't get the static line there without leading to a less-than-clean expansion of the parachute after the container was opened. There were also 4 little metal rings about 3/8" in diameter, one at each corner of the container. They may have been used to lightly secure the deployment bag within the container, but, again, I couldn't figure out how this could be done without interfering with a clean deployment.
Please note that the rigger had just run 6 miles, and our make-up
coordinator had the day off.
All images © 2003, Albert P. Gerheim